If you’re considering upgrading your home’s heating and cooling system, a heat pump is one of the most energy-efficient options available today. Naturally, the next question becomes: how are heat pumps installed – and can I do it myself?
This is where things get interesting.
While the idea of installation might seem straightforward, heat pump installation is actually a complex, multi-step process that requires technical expertise, electrical knowledge, and precise calibration.
In this guide, we’ll walk you through exactly how heat pumps are installed, step by step. More importantly, we’ll highlight why most homeowners ultimately choose to hire a professional – and how doing so can save time, money, and stress.
What is Heat Pump Installation, and Why Does it Matter?
A heat pump installation involves setting up a system that both heats and cools your home by transferring heat rather than generating it.
Unlike traditional HVAC systems:
- Heat pumps work year-round (heating + cooling)
- They rely on refrigerant and airflow systems
- They require both indoor and outdoor components
Why this matters:
- Proper installation directly affects efficiency
- Poor installation can lead to higher energy bills
- Mistakes can shorten system lifespan
If installed correctly, a heat pump can significantly reduce energy costs and improve comfort. If installed incorrectly, it can cause ongoing issues from day one.
How to Install a Heat Pump
Let’s break down what actually happens during a professional heat pump installation.
Step 1: Home Evaluation and Load Calculation
Before anything is installed, a technician evaluates your home.
This includes:
- Measuring square footage
- Assessing insulation levels
- Evaluating windows and airflow
- Performing a load calculation
This step ensures your system is properly sized.
Why this matters:
An incorrectly sized system will either:
- Work too hard (wearing out faster), or
- Not perform effectively (leaving your home uncomfortable)
Step 2: Choosing the Right System
Not all heat pumps are the same.
Options include:
- Air-source heat pumps
- Ductless mini splits
- Hybrid systems
A professional will recommend the best option based on your home and budget.
Explore options here.
Step 3: Preparing the Installation Site
Next, the installation area is prepared.
This may involve:
- Clearing space for the outdoor unit
- Installing or modifying ductwork
- Preparing electrical connections
For outdoor units:
A level concrete pad or mounting bracket is installed
Proper drainage is ensured
Step 4: Installing the Indoor Unit
The indoor unit (air handler) is installed inside your home.
This step includes:
- Mounting the unit securely
- Connecting it to ductwork (or setting up ductless systems)
- Ensuring proper airflow
Improper installation here can lead to:
- Uneven heating/cooling
- Reduced efficiency
- Increased noise
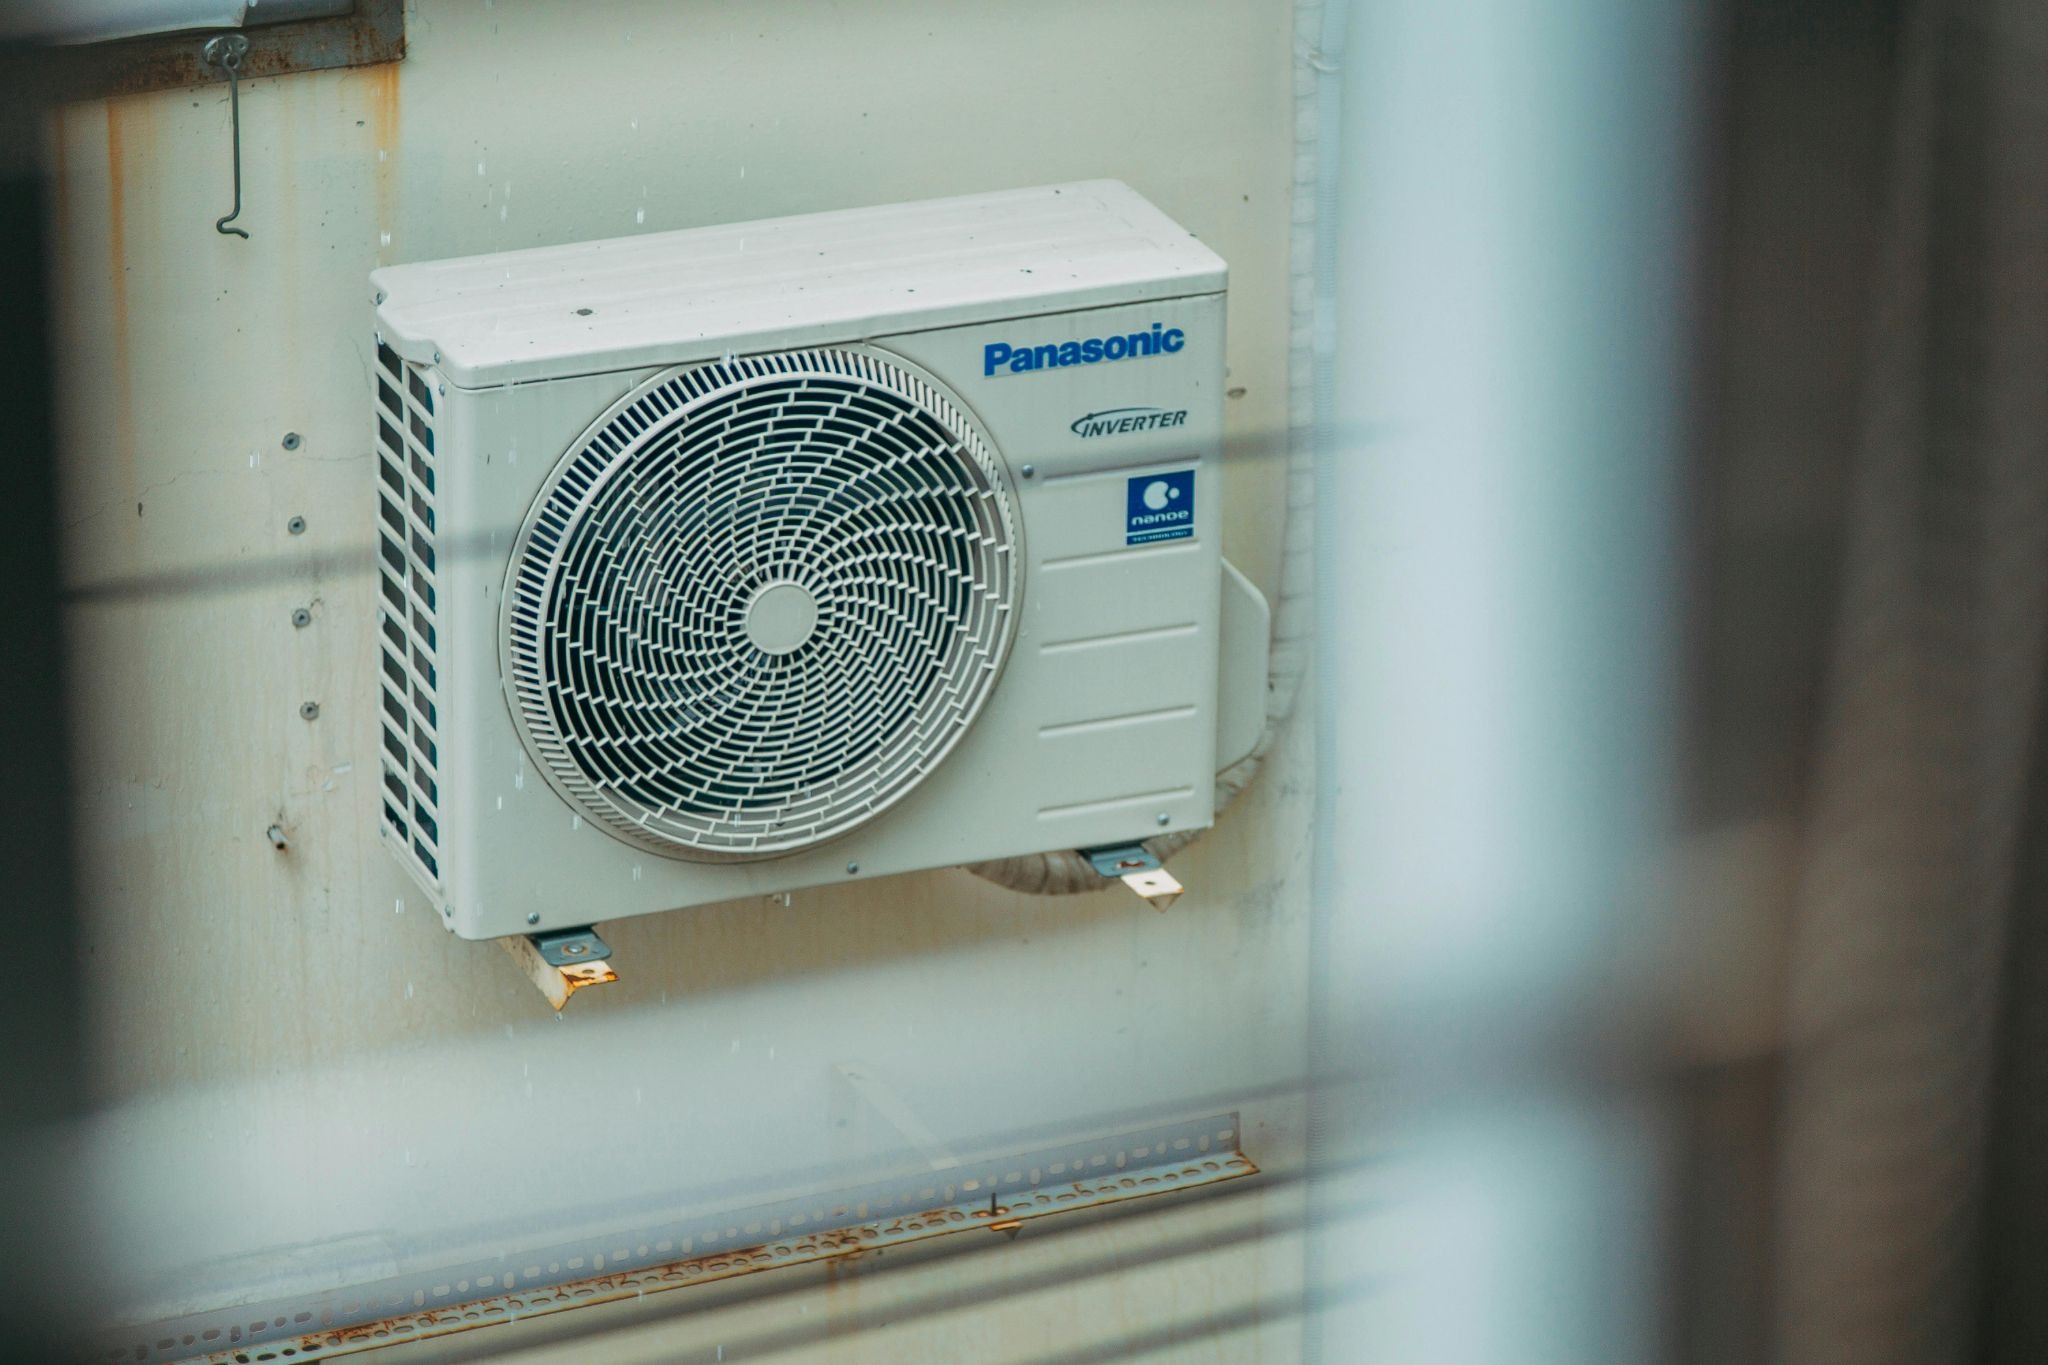
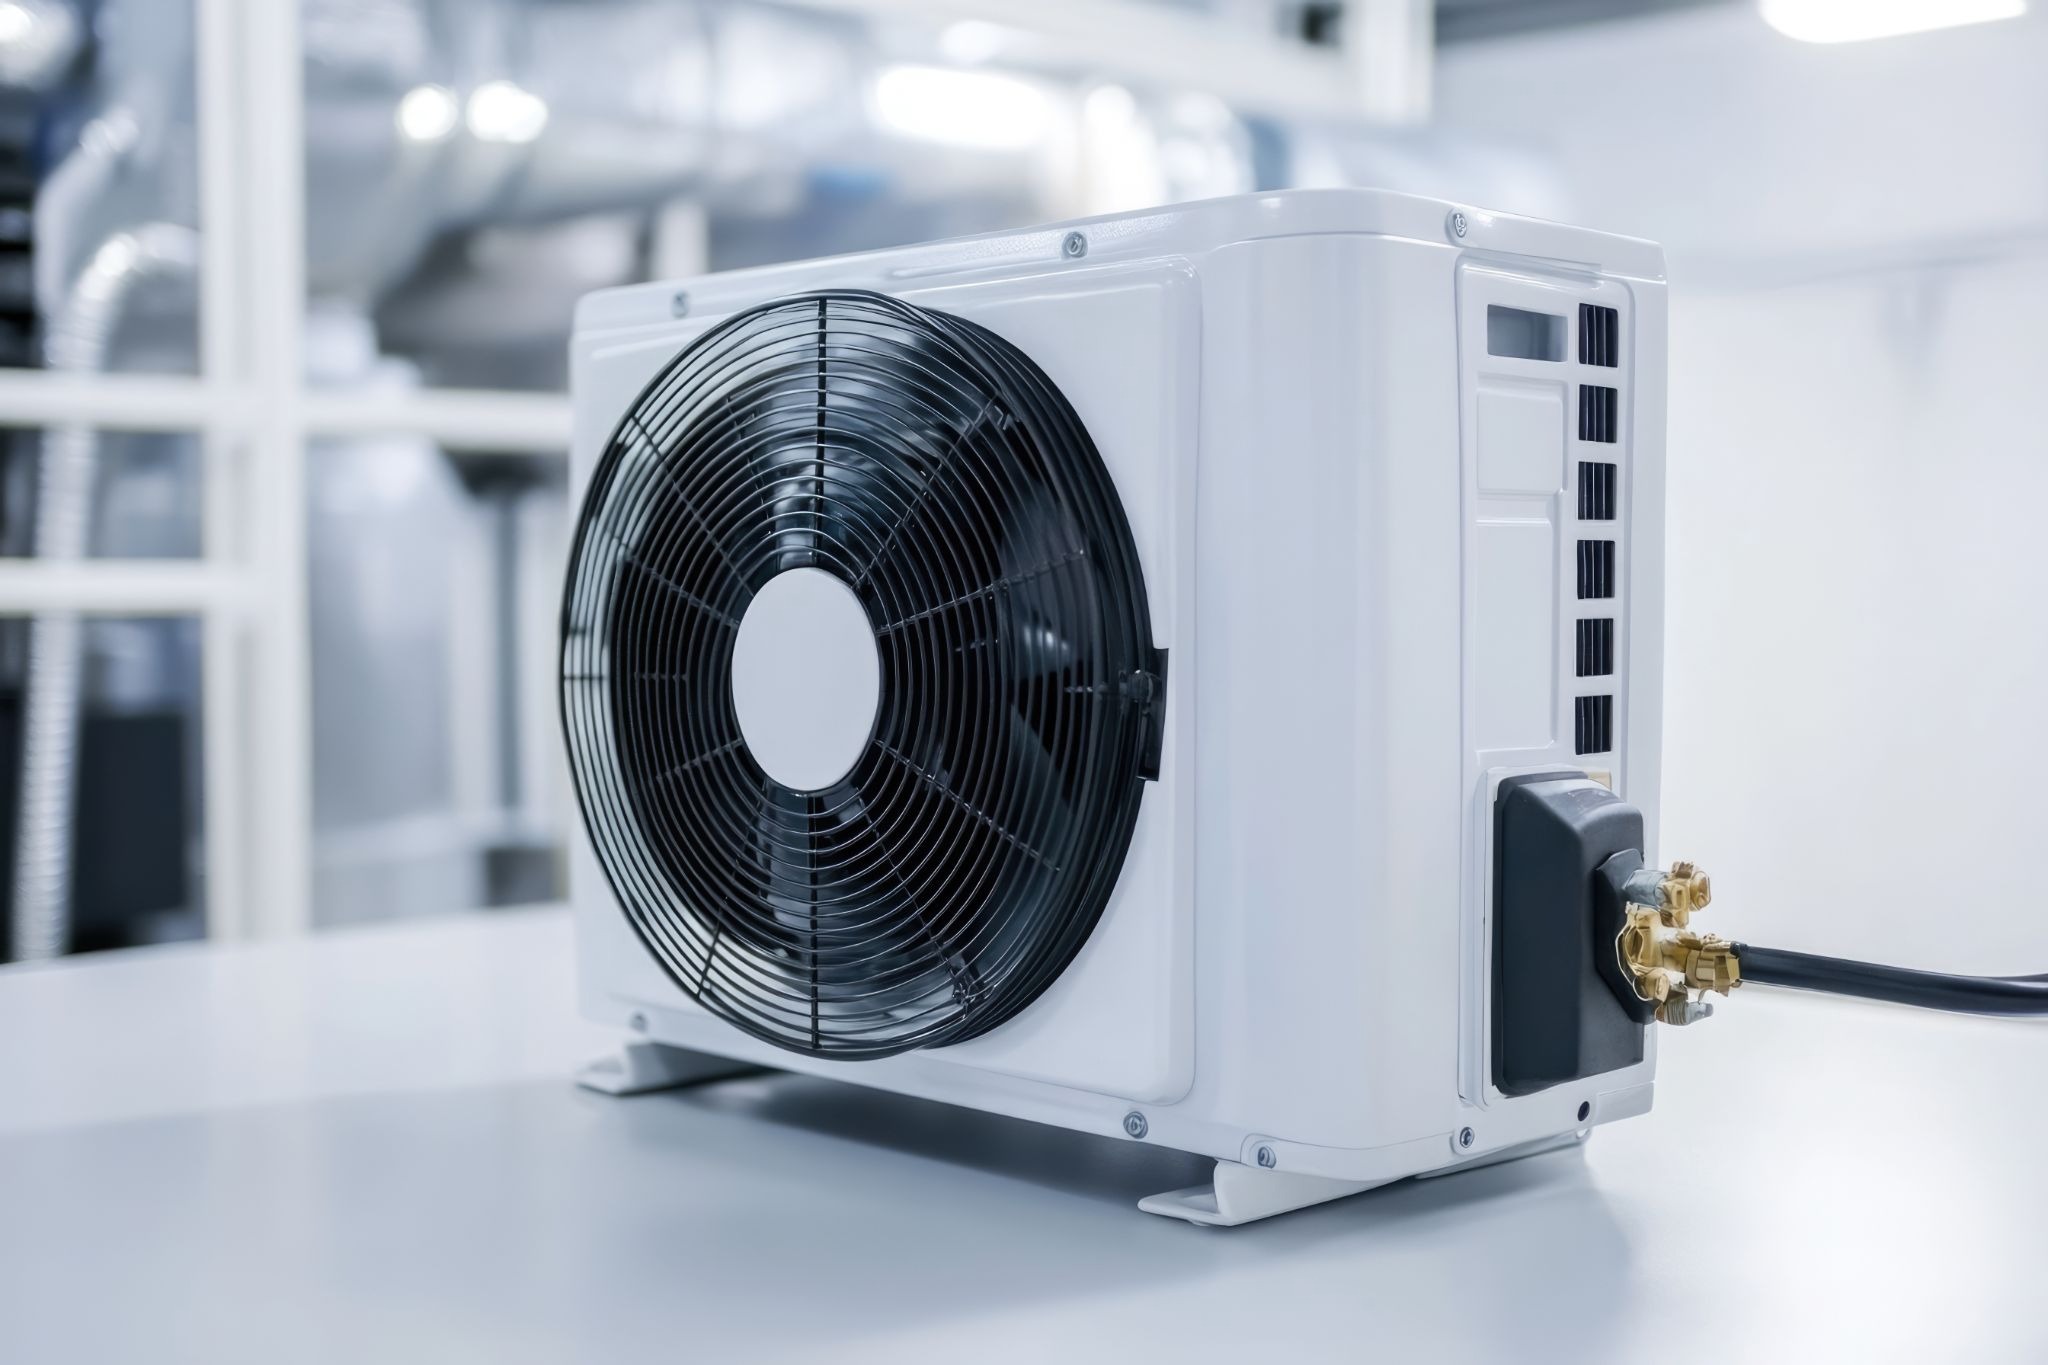
Step 5: Installing the Outdoor Unit
The outdoor unit is placed outside your home.
Key considerations:
- Proper spacing for airflow
- Distance from walls or obstructions
- Protection from weather and debris
This unit is responsible for heat transfer, so placement is critical.
Step 6: Connecting Refrigerant Lines
This is one of the most technical steps.
Technicians:
- Connect refrigerant lines between indoor and outdoor units
- Ensure proper sealing
- Vacuum the lines to remove moisture and air
Why this matters:
Improper refrigerant handling can:
- Reduce efficiency
- Damage the system
- Void warranties
Step 7: Electrical Wiring and Connections
The system must be connected to your home’s electrical system.
This includes:
- Installing breakers if needed
- Wiring thermostats and controls
- Ensuring safe voltage levels
This step requires licensed expertise for safety and compliance.
Step 8: System Testing and Calibration
Once everything is installed, the system is tested.
Technicians will:
- Check airflow
- Measure refrigerant levels
- Test heating and cooling modes
- Calibrate the thermostat
This ensures your system runs efficiently from day one.
Step 9: Final Inspection and Walkthrough
Before completing the job, professionals:
- Inspect all components
- Confirm system performance
- Walk you through how to use your system
You’ll also receive maintenance recommendations.
Ongoing care is key – learn more here: Heat pump Maintenance.
Tips and Reminders for Heat Pump Installation
1. Always Get a Proper Assessment
Skipping load calculations leads to poor system performance. A professional evaluation is essential.
2. Choose Energy-Efficient Models
Higher-efficiency systems may cost more upfront but save money long-term.
3. Don’t Ignore Maintenance
Even the best installation needs regular upkeep to stay efficient.
4. Work With Experienced Professionals
Installation quality matters just as much as the equipment itself.
Learn more about expert installation services.
5. Plan for Long-Term Value
A properly installed heat pump can last 10–15+ years – making it a worthwhile investment.
So, how are heat pumps installed?
As you’ve seen, it’s a detailed, multi-step process that involves far more than just placing a unit and turning it on. From load calculations to refrigerant handling and system calibration, every step plays a critical role in performance and longevity.
While it’s helpful to understand the process, the biggest takeaway is this:
Heat pump installation is not a DIY project – it’s an investment that should be done right the first time.
Thinking about installing a heat pump in your home?
Don’t leave it to guesswork. Contact Four Seasons Cooling & Heating to schedule a professional consultation today.